
Your Most Reliable Mississauga Moving Company



Your kitchen holds more breakable stuff per square foot than any other room in the house. Grandma’s gravy boat, a set of wine glasses, and a knife collection that could make a grown adult nervous all tend to live in the same few cabinets. Open a box after a move and hear that sad little clink? You already know why learning to pack the kitchen for moving deserves a real plan.
This guide by MPR Movers takes you through the process room by room and item by item. Think of it as the friend who has moved a few times and wants to save you from the mistakes they made!
| Quick Answer: To Best Way To Pack Kitchen Items safely, do these things. Declutter first. Use sturdy boxes sized to what’s going inside. Wrap each fragile piece on its own. Then stuff paper or bubble wrap into any space so nothing rattles. Heavy items belong in small boxes near the bottom. Knives get wrapped and labeled. Appliances get cleaned, dried and secured before they go anywhere near a box. |
The Best Way To Pack Kitchen Items checklist is a long task. So make sure you start early. The kitchen is the last room you want to rush through.
Once the basics are set, you can move on to the items that need special handling. These are the ones that cause the most damage, so take your time with them.
Heavy kitchen items include cast iron skillets, stand mixers, big cans of food, as well as bulky small appliances. The rule is simple: heavy goes low and small.
A heavy item in a big box is a recipe for a broken bottom. When the bottom gives out, everything inside comes down with it.
Cookware is heavy and has edges that can scratch and dent anything near it. Nesting pots and pans carefully is the key.
Tip: if you’re planning how to unpack later, pack cookware in the order you’ll need it. The first pan you’ll reach for should sit on top.
Knives are the most dangerous item in the kitchen, both for you and for anyone handling your boxes. Protecting the blade and warning the people around it is the goal.
Consider carrying your best chef’s knife yourself rather than letting it ride in a truck with other people’s boxes. It’s the one item you’ll miss most if it goes missing or gets damaged.
Silverware seems sturdy, but loose forks and spoons have a talent for disappearing into cushions and corners.
A moving kitchen utensils organizer is a smart purchase before a move. A simple utensil holder or even a clean jar keeps everyday tools together. On the first night in your new place, you can pull out one container and start cooking.
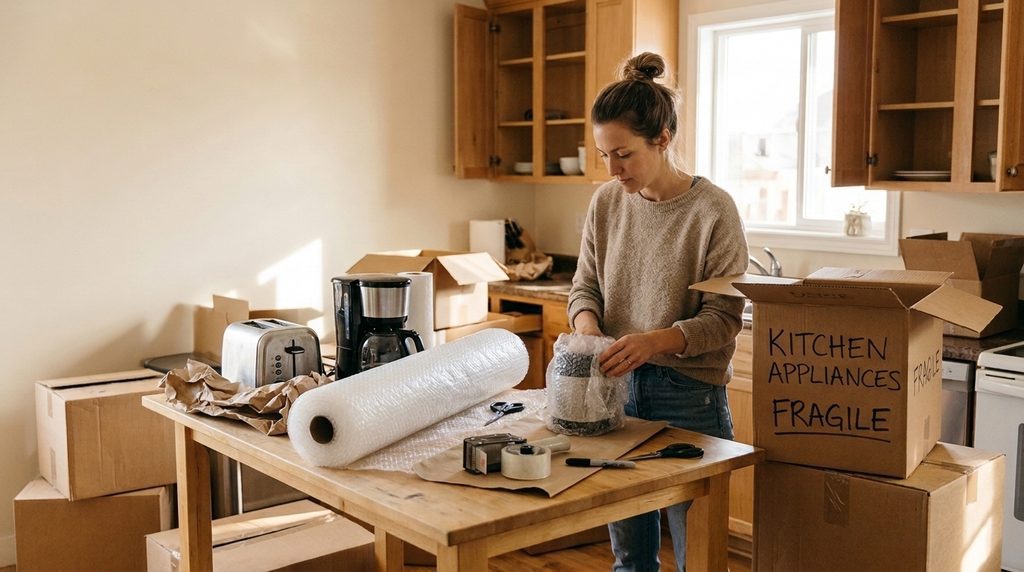
Appliances need their own rules. Some are heavy, some are plugged into the wall, and some need preparation before they go anywhere.
Empty the fridge and freezer a day or two before the move. Defrost the freezer, dry it fully, and tape the doors shut so they don’t swing open. Take out the shelves and secure any loose parts. Leftover water causes mold, and loose shelves can break in transit. Check your manufacturer’s manual for any specific instructions for your model.
Take out the turntable and wrap it separately. Tape the door shut and wrap the whole unit in a blanket. If you still have the original box, use it. The turntable can crack, and the door needs protection.
Take the blender apart. Wrap the blades carefully, since they’re sharp and pack the jar separately, since it’s glass. The base can go in a box with padding.
Empty and dry the carafe. Wrap it separately, then pack the base in a box with padding. Leftover water can leak onto other items.
Empty and clean the crumb tray, then remove it. Wrap the toaster and secure it so the sides don’t press against anything. Crumbs spill more than you’d think.
Remove the ceramic insert and wrap it in packing paper or a towel. Pack the base separately. The insert is breakable, and the base has a cord that should be wrapped and taped.
Nest pans with padding between them, the same way you’d nest pots. Wrap glass baking dishes one at a time. Glass bakeware is one of the most common kitchen breakages.
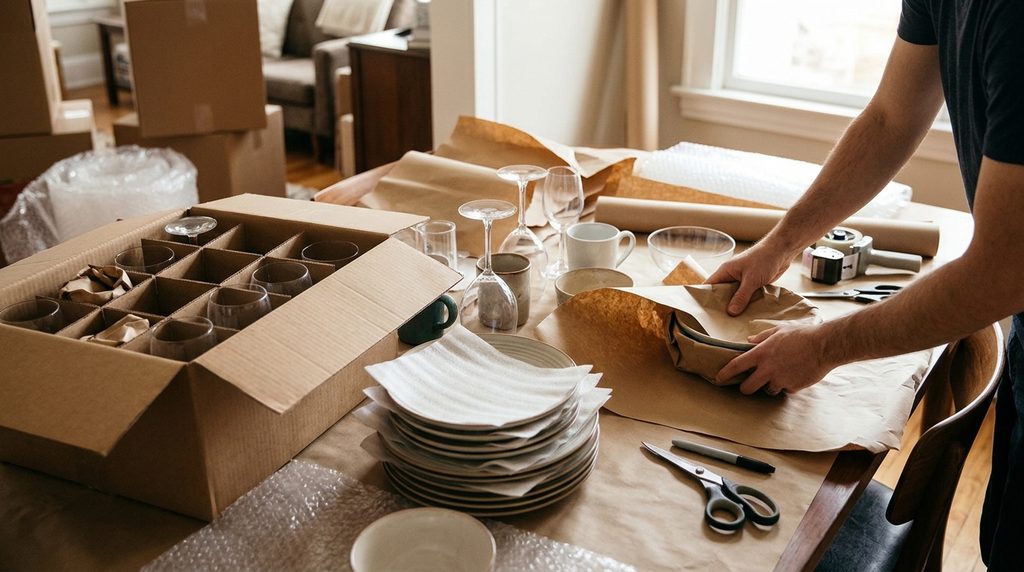
Glass and china are the main reasons people buy dish pack boxes. They’re worth every penny.
Wrap each plate in packing paper, then add a layer of bubble wrap. Stand the plates on their edge in a dish pack box instead of stacking them flat. Plates are much stronger that way. That’s how they’re designed to bear weight.
Wrap each glass in paper. Put the bottom in first and stuff paper around the rim. Glass tends to break at the rim and the base, so protect both.
Wrap the stems carefully. Stemware is the most fragile thing in most kitchens. Give it extra padding and pack it in its own box.
Don’t nest glasses without paper between each one. Glasses pressed against each other can crack from the pressure.
Empty and rinse each bottle first. Wrap it, keep it upright, and fill the gaps with padding. Liquid can leak, and bottles crack under weight.
Use extra padding and don’t stack too many plates in one spot. The thinnest plates chip before anything else does.
Plastic is lighter and more forgiving, but it still scratches. Wrap it so it doesn’t rub against anything harder.
Granite cookware is heavy and chips along the rim. Wrap each piece in a towel and pack it upright in a sturdy box, with the heaviest pieces at the bottom.
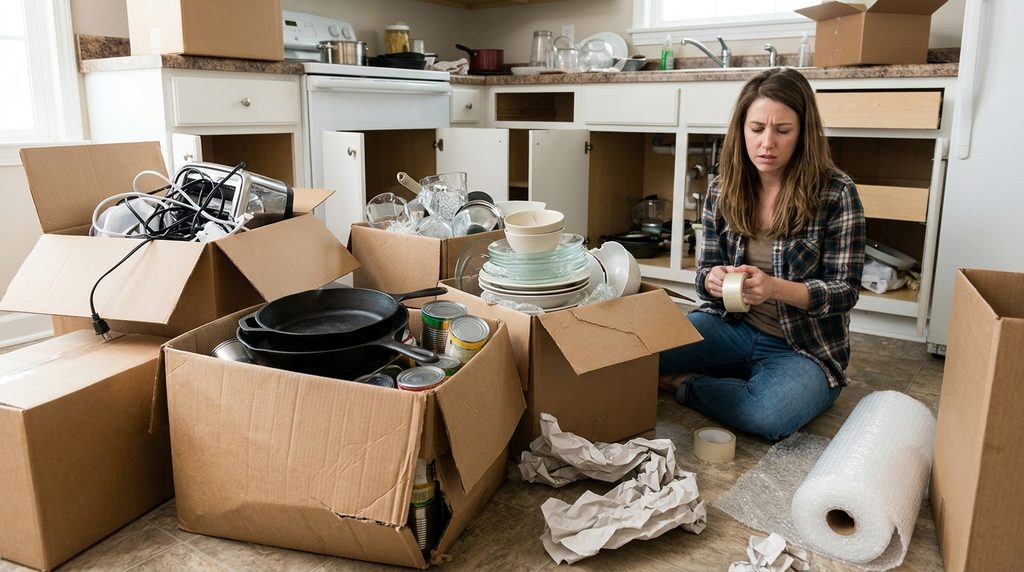
Even careful packers make these errors. Watch out for them.
To sum it up, you have to start with decluttering first. Pack the stuff you rarely use and leave daily use items for last. Wrap each breakable piece by itself, use boxes that fit what’s inside, and fill the gaps so nothing slides around. That covers most of a good kitchen packing job.
Knives and other sharp tools need their own care. Wrap the blades in several layers, tape the wrapping shut, and label the box so the movers know what’s inside. Gas appliances and anything hooked up to water should be disconnected by a professional. Trying it yourself can mean a leak or a dangerous fitting. That’s just not worth the risk. Start about two weeks out if you can. Kitchens always take longer than you think. The extra time is what keeps you from stuffing dishes into boxes at midnight.
Hiring professional movers is going to ease up the whole process for you. MPR Movers is here to help you every step of the way.
More : Meadowvale Party Rentals And MPR Landscapes

Immensely passionate for literature, Arsh-E-Bareen is a freelance writer. She writes content for many renowned firms, including this one. In her spare time, she loves to write sonnets and short stories that touch and inspire people. You can contact her on LinkedIn